
Verklein OS Disk Size in Azure
Posted on May 2, 2024 • 11 minutes • 2265 words
Table of contents
Verkleinen OS Disk Size in Azure
==> Disclaimer work in progress <==
Voorwoord
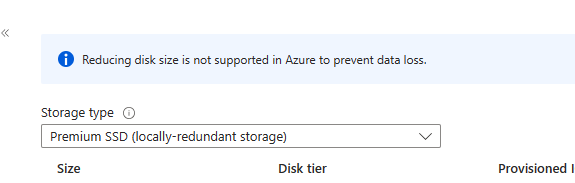
Een OS disk die te groot aangemaakt is, het blijft een lastig probleem. Het zijn onnodige kosten binnen azure. en het aanpassen van de Size van een Azure OS disk kan niet zomaar. Je krijgt dan de melding:
Toch zijn er mogelijkheden om dit aan te passen en daardoor kosten te besparen. De eis om dit te kunnen doen is uiteraard dat er genoeg schijfruimte aanwezig op de Disk in de VM om dit kunnen doen.
Dit probleem kom je zeer regelmatig tegen op het moment dat er vanuit een On-premise omgeving een server gemigreerd word. (grote OS disk voor groeien vast aangemaakt). Als er voldoende vrije disk ruimte aanwezig is om de schijf te brengen naar 64Gb of 32Gb is dit mogelijk. Hou wel rekening met de aanpassing van IOPS en Throughput op het moment dat disks kleiner gemaakt word. Hieronder de stappen om deze aanpassing te maken.
Kleiner maken van de disk in de VM.
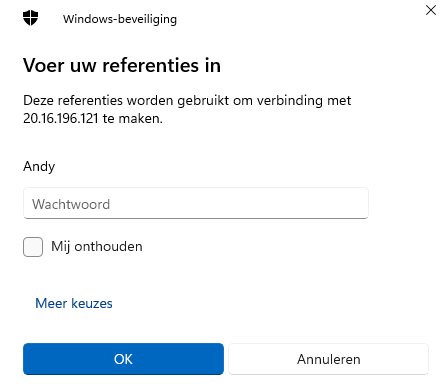
Log in op de server via RDP.
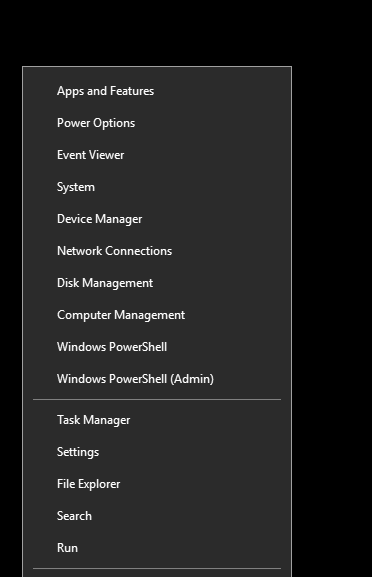
Als je ingelogd bent ga je naar Disk Management. .
Als diskmanagement geopend is kijk dan bij de C schijf hoeveel vrije ruimte je hebt. Zorg ervoor dat je genoeg over houd voor een groei. (+/- 15/20% over is voldoende)

Als we kijken in disk management zien we onderstaande disk nummer staan. onthou of bewaar deze, deze hebben we in het vervolg nog nodig.
 Open vervolgens powershell en vul de onderstaande regel in om je disk te shrinken.
Get-Partition -DiskNumber 0 (het disknummer is hetzelfde nummer als dat je hierboven hebt gevonden.)
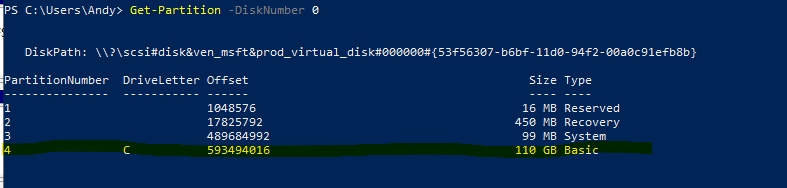
In bovenstaande voorbeeld zien we dat disknummer 4 de disk is die we moeten gebruiken omdat hier de C schijf op staat. In ons voorbeeld verkleinen we de disk naar 90Gb. Maar je kunt natuurlijk zelf kiezen wat voor jou het beste past. Vul volgende regel in in Powershell:
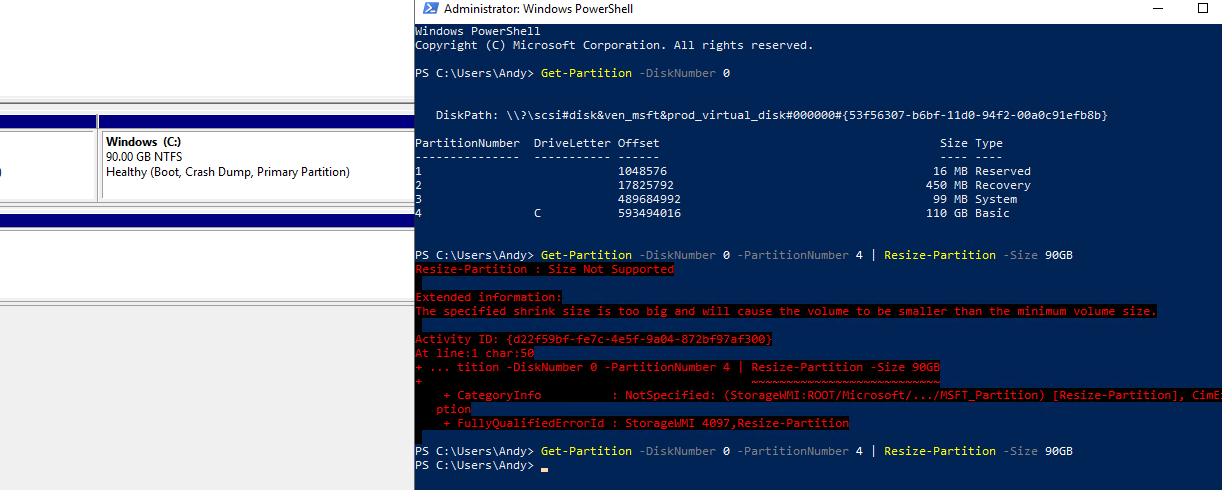
Get-Partition -DiskNumber 0 -PartitionNumber 4 | Resize-Partition -Size 90GB
Soms krijg je onderstaande error:

The specified shrink size is too big and will cause the volume to be smaller than the minimum volume size
De oplossing is eigenlijk vrij simpel, probeer de powershell regel nog 2/3 keer en dan lukt het wel. dit omdat er gequery word en er soms files in een bepaald block in gebruik zijn.
Zet de machine uit via Shutdown:
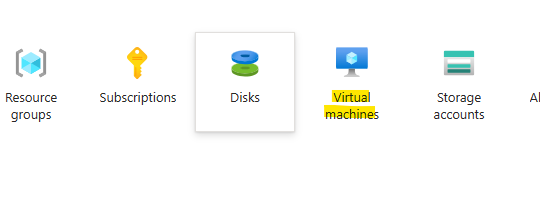
Als de machine uitstaat moeten we hem ook nog deallocate. Ga naar de azure portal en zoek op Virtual Machines.
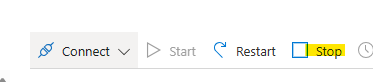
Zoek op de virtuele machine en klik op Stop.
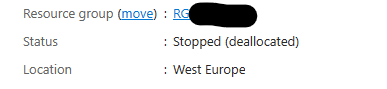
Als de machine gestopt is zie je ook dat hij op deallocated staat.
Nu gaan we vanuit uw machine zelf een Powershell ISE opstarten en runnen daar een script. Ik zal hier eerst stap voor stap de gedeeltes uit het script doorlopen. aan aan het einde zal ik het complete script nog eens copieren.
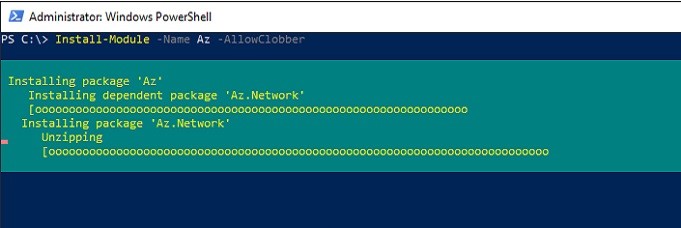
Eerst installeren we de Azure modules
Install-Module -name Az
Hierna gaan we de informatie verzamelen die we later nodig hebben in het script
# Variables
$DiskID = "# eg. "/subscriptions/203bdbf0-69bd-1a12-a894-a826cf0a34c8/resourcegroups/rg-server1-prod-1/providers/Microsoft.Compute/disks/Server1-Server1"
$VMName = "eg. Vmname"
$DiskSizeGB = 90 (eq. DiskSize)
$AzSubscription = "eq. Subscription name"
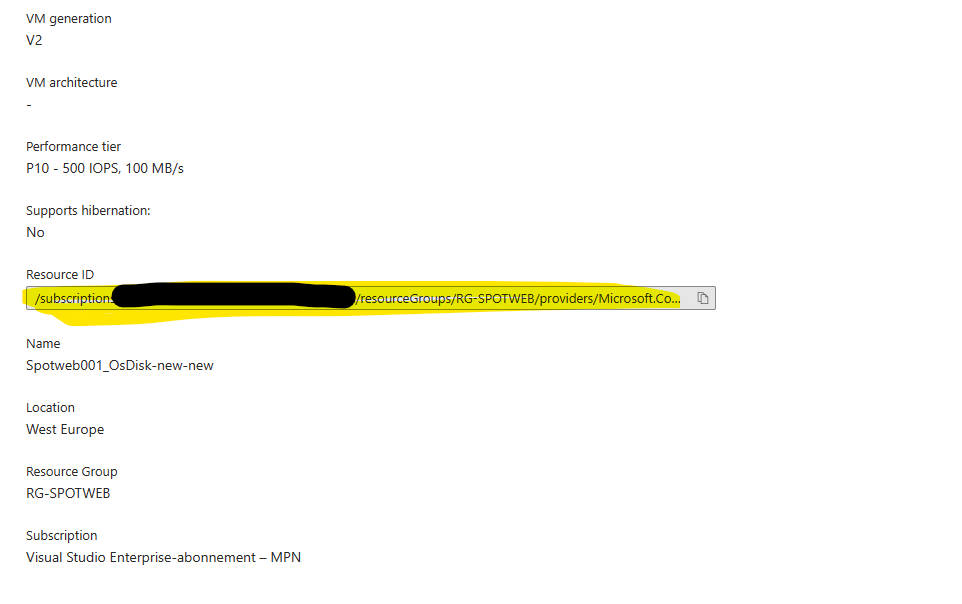
De DiskId kun je ophalen in de Disk van de VM en dan naar Properties te gaan.
Hierna maken we connectie met Azure.
# Login to Azure with your Admin Account:
Connect-AzAccount
Daarna krijg je een melding dat de authenticatie succesvol was. Sluit je browser en ga terug naar Powershell ISE.

Je ziet in ISE dan dat er een connectie gemaakt is.

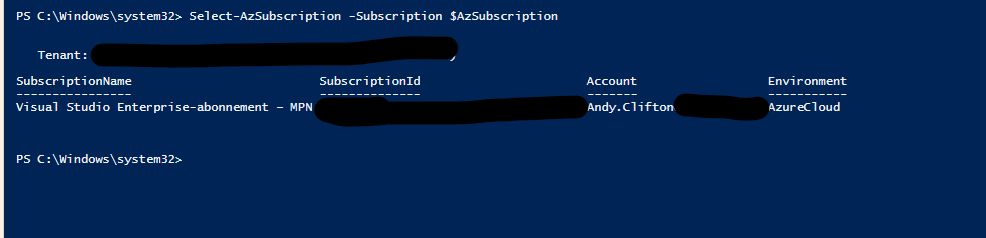
Nu gaan we de subscription selecteren waar de VM onder draait. (deze stap is alleen noodzakelijk als je meerdere subscriptions hebt.)
#Provide the subscription Id of the subscription where VM is created
Select-AzSubscription -Subscription $AzSubscription
Hierna gaan we alle info ophalen van de VM waar het om gaat.
# VM to resize disk of
$VM = Get-AzVm | ? Name -eq $VMName

Nu gaan we een aantal informatie uit de vm en zijn disk halen.
#Provide the name of your resource group where VM is created
$resourceGroupName = $VM.ResourceGroupName
# Get Disk from ID
$Disk = Get-AzDisk | ? Id -eq $DiskID
# Get VM/Disk generation from Disk
$HyperVGen = $Disk.HyperVGeneration
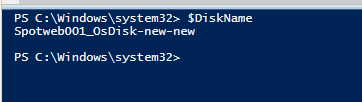
# Get Disk Name from Disk
$DiskName = $Disk.Name
Output ziet er als volgt uit:
Voor $disk:

Voor $HyperVGen:

Voor $DiskName:
Hierna gaan we een snapshot maken en een nieuwe disk met een kleinere ruimte op basis van de info die we hebben gegeven. We geven hierbij de SAS Read access.
# Get SAS URI for the Managed disk
$SAS = Grant-AzDiskAccess -ResourceGroupName $resourceGroupName -DiskName $DiskName -Access 'Read' -DurationInSecond 600000;

#Provide storage account name where you want to copy the snapshot - the script will create a new one temporarily
$storageAccountName = "shrink" + [system.guid]::NewGuid().tostring().replace('-','').substring(1,18)

#Name of the storage container where the downloaded snapshot will be stored
$storageContainerName = $storageAccountName

#Provide the name of the VHD file to which snapshot will be copied.
$destinationVHDFileName = "$($VM.StorageProfile.OsDisk.Name).vhd"

#Create the context for the storage account which will be used to copy snapshot to the storage account
$StorageAccount = New-AzStorageAccount -ResourceGroupName $resourceGroupName -Name $storageAccountName -SkuName Standard_LRS -Location $VM.Location
$destinationContext = $StorageAccount.Context
$container = New-AzStorageContainer -Name $storageContainerName -Permission Off -Context $destinationContext

#Copy the snapshot to the storage account and wait for it to complete
Start-AzStorageBlobCopy -AbsoluteUri $SAS.AccessSAS -DestContainer $storageContainerName -DestBlob $destinationVHDFileName -DestContext $destinationContext
while(($state = Get-AzStorageBlobCopyState -Context $destinationContext -Blob $destinationVHDFileName -Container $storageContainerName).Status -ne "Success") { $state; Start-Sleep -Seconds 20 }
$state

# Revoke SAS token
Revoke-AzDiskAccess -ResourceGroupName $resourceGroupName -DiskName $DiskName

# Emtpy disk to get footer from
$emptydiskforfootername = "$($VM.StorageProfile.OsDisk.Name)-empty.vhd"

$diskConfig = New-AzDiskConfig `
    -Location $VM.Location `
    -Zone $VM.Zones `
    -CreateOption Empty `
    -DiskSizeGB $DiskSizeGB `
    -HyperVGeneration $HyperVGen

$dataDisk = New-AzDisk `
    -ResourceGroupName $resourceGroupName `
    -DiskName $emptydiskforfootername `
    -Disk $diskConfig

$VM = Add-AzVMDataDisk `
    -VM $VM `
    -Name $emptydiskforfootername `
    -CreateOption Attach `
    -ManagedDiskId $dataDisk.Id `
    -Lun 63

Update-AzVM -ResourceGroupName $resourceGroupName -VM $VM

$VM | Stop-AzVM -Force


# Get SAS token for the empty disk
$SAS = Grant-AzDiskAccess -ResourceGroupName $resourceGroupName -DiskName $emptydiskforfootername -Access 'Read' -DurationInSecond 600000;

# Copy the empty disk to blob storage
Start-AzStorageBlobCopy -AbsoluteUri $SAS.AccessSAS -DestContainer $storageContainerName -DestBlob $emptydiskforfootername -DestContext $destinationContext
while(($state = Get-AzStorageBlobCopyState -Context $destinationContext -Blob $emptydiskforfootername -Container $storageContainerName).Status -ne "Success") { $state; Start-Sleep -Seconds 20 }
$state

# Revoke SAS token
Revoke-AzDiskAccess -ResourceGroupName $resourceGroupName -DiskName $emptydiskforfootername

# Remove temp empty disk
Remove-AzVMDataDisk -VM $VM -DataDiskNames $emptydiskforfootername
Update-AzVM -ResourceGroupName $resourceGroupName -VM $VM

# Delete temp disk
Remove-AzDisk -ResourceGroupName $resourceGroupName -DiskName $emptydiskforfootername -Force;

# Get the blobs
$emptyDiskblob = Get-AzStorageBlob -Context $destinationContext -Container $storageContainerName -Blob $emptydiskforfootername
$osdisk = Get-AzStorageBlob -Context $destinationContext -Container $storageContainerName -Blob $destinationVHDFileName

$footer = New-Object -TypeName byte[] -ArgumentList 512
write-output "Get footer of empty disk"

$downloaded = $emptyDiskblob.ICloudBlob.DownloadRangeToByteArray($footer, 0, $emptyDiskblob.Length - 512, 512)

$osDisk.ICloudBlob.Resize($emptyDiskblob.Length)
$footerStream = New-Object -TypeName System.IO.MemoryStream -ArgumentList (,$footer)
write-output "Write footer of empty disk to OSDisk"
$osDisk.ICloudBlob.WritePages($footerStream, $emptyDiskblob.Length - 512)

Write-Output -InputObject "Removing empty disk blobs"
$emptyDiskblob | Remove-AzStorageBlob -Force


#Provide the name of the Managed Disk
$NewDiskName = "$DiskName" + "-new"

#Create the new disk with the same SKU as the current one
$accountType = $Disk.Sku.Name

# Get the new disk URI
$vhdUri = $osdisk.ICloudBlob.Uri.AbsoluteUri

# Specify the disk options
$diskConfig = New-AzDiskConfig -AccountType $accountType -Location $VM.location -Zone $VM.Zones -DiskSizeGB $DiskSizeGB -SourceUri $vhdUri -CreateOption Import -StorageAccountId $StorageAccount.Id -HyperVGeneration $HyperVGen

# Handle Trusted Launch VMs/Disks
If($Disk.SecurityProfile.SecurityType -eq "TrustedLaunch"){
    $diskconfig = Set-AzDiskSecurityProfile -Disk $diskconfig -SecurityType "TrustedLaunch"
}
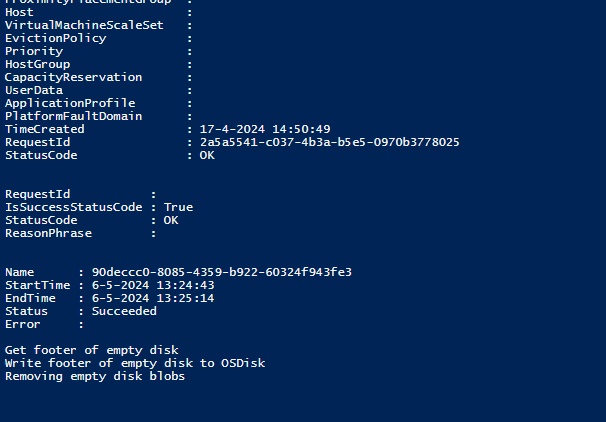
Om het niet te uitgebreid te aken zal ik niet van alles een export maken. Maar als je het runt zie je wel onderstaande melding lopen tot de copy slag gelukt is.
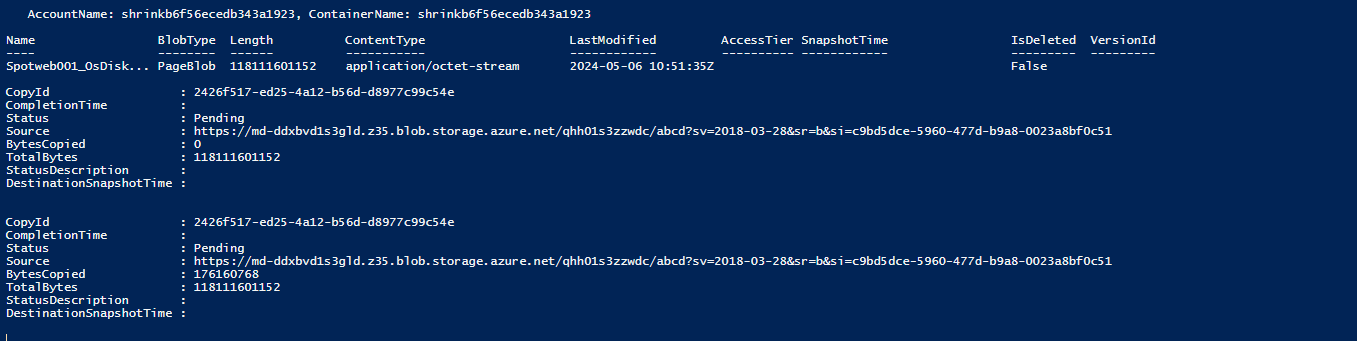
Als de copy slag helemelaal gelukt is krijg je de volgende melding:
Hierna gaan e een nieuwe disk maken op basis van de info die in het vorige stuk gezet is. (bijvoorbeeld de grote maar ook de Security Type)
$NewManagedDisk = New-AzDisk -DiskName $NewDiskName -Disk $diskConfig -ResourceGroupName $resourceGroupName
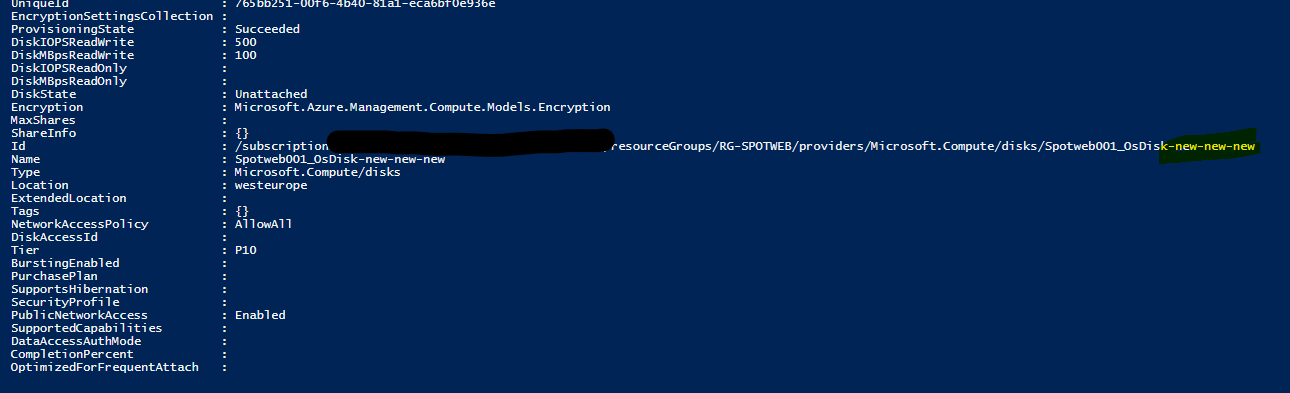
Deze disk is vrijsnel aangemaakt en je krijgt een id met daarin de nieuwe naam
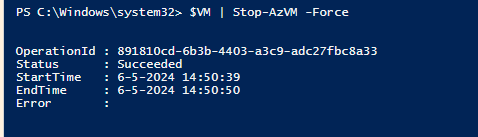
Nu stoppen we de bestaande VM.Deze is tijdens het script na een Update weer gestart.
$VM | Stop-AzVM -Force
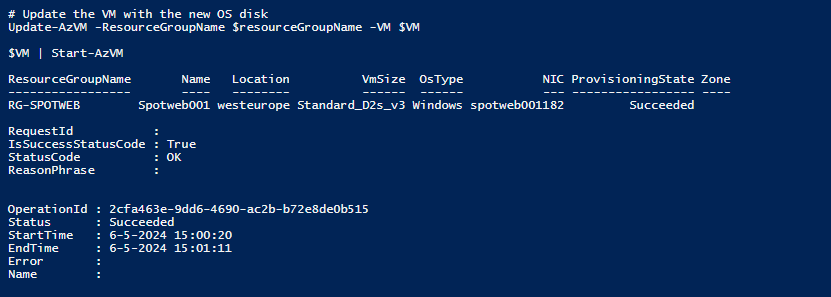
Hierna gaan we de Configuratie aanpassen, de disk koppelen aan de VM en de machine weer starten..
# Set the VM configuration to point to the new disk
Set-AzVMOSDisk -VM $VM -ManagedDiskId $NewManagedDisk.Id -Name $NewManagedDisk.Name

# Update the VM with the new OS disk
Update-AzVM -ResourceGroupName $resourceGroupName -VM $VM

$VM | Start-AzVM
We hebben nu in het script een pauze gebouwd van 3 minuten om te zorgen dat de disk goed gesync word en de machine helemaal gestart is.
De laatste stap in het script is het verwijderen van de oude disk blob storage en het tijdelijke storage account.
# Delete old Managed Disk
Remove-AzDisk -ResourceGroupName $resourceGroupName -DiskName $DiskName -Force;

# Delete old blob storage
$osdisk | Remove-AzStorageBlob -Force

# Delete temp storage account
$StorageAccount | Remove-AzStorageAccount -Force
Nu is de machine actief met een nieuwe disk.

Zoals beloofd hier nog even het hele script, daarna gaan we verder met de configuratie in de VM.
# Variables
$DiskID = "# eg. "/subscriptions/203bdbf0-69bd-1a12-a894-a826cf0a34c8/resourcegroups/rg-server1-prod-1/providers/Microsoft.Compute/disks/Server1-Server1"
$VMName = "eg. Vmname"
$DiskSizeGB = 90 (eq. DiskSize)
$AzSubscription = "eq. Subscription name"
# Script
# Login to Azure with your Admin Account:
Connect-AzAccount

#Provide the subscription Id of the subscription where VM is created
Select-AzSubscription -Subscription $AzSubscription

# VM to resize disk of
$VM = Get-AzVm | ? Name -eq $VMName

#Provide the name of your resource group where VM is created
$resourceGroupName = $VM.ResourceGroupName

# Get Disk from DiskID
$Disk = Get-AzDisk | ? Id -eq $DiskID

# Get VM/Disk generation from Disk
$HyperVGen = $Disk.HyperVGeneration

# Get Disk Name from Disk
$DiskName = $Disk.Name

# Get SAS URI for the Managed disk
$SAS = Grant-AzDiskAccess -ResourceGroupName $resourceGroupName -DiskName $DiskName -Access 'Read' -DurationInSecond 600000;

#Provide storage account name where you want to copy the snapshot - the script will create a new one temporarily
$storageAccountName = "shrink" + [system.guid]::NewGuid().tostring().replace('-','').substring(1,18)

#Name of the storage container where the downloaded snapshot will be stored
$storageContainerName = $storageAccountName

#Provide the name of the VHD file to which snapshot will be copied.
$destinationVHDFileName = "$($VM.StorageProfile.OsDisk.Name).vhd"

#Create the context for the storage account which will be used to copy snapshot to the storage account
$StorageAccount = New-AzStorageAccount -ResourceGroupName $resourceGroupName -Name $storageAccountName -SkuName Standard_LRS -Location $VM.Location
$destinationContext = $StorageAccount.Context
$container = New-AzStorageContainer -Name $storageContainerName -Permission Off -Context $destinationContext

#Copy the snapshot to the storage account and wait for it to complete
Start-AzStorageBlobCopy -AbsoluteUri $SAS.AccessSAS -DestContainer $storageContainerName -DestBlob $destinationVHDFileName -DestContext $destinationContext
while(($state = Get-AzStorageBlobCopyState -Context $destinationContext -Blob $destinationVHDFileName -Container $storageContainerName).Status -ne "Success") { $state; Start-Sleep -Seconds 20 }
$state

# Revoke SAS token
Revoke-AzDiskAccess -ResourceGroupName $resourceGroupName -DiskName $DiskName

# Emtpy disk to get footer from
$emptydiskforfootername = "$($VM.StorageProfile.OsDisk.Name)-empty.vhd"

$diskConfig = New-AzDiskConfig `
    -Location $VM.Location `
    -Zone $VM.Zones `
    -CreateOption Empty `
    -DiskSizeGB $DiskSizeGB `
    -HyperVGeneration $HyperVGen

$dataDisk = New-AzDisk `
    -ResourceGroupName $resourceGroupName `
    -DiskName $emptydiskforfootername `
    -Disk $diskConfig

$VM = Add-AzVMDataDisk `
    -VM $VM `
    -Name $emptydiskforfootername `
    -CreateOption Attach `
    -ManagedDiskId $dataDisk.Id `
    -Lun 63

Update-AzVM -ResourceGroupName $resourceGroupName -VM $VM

$VM | Stop-AzVM -Force


# Get SAS token for the empty disk
$SAS = Grant-AzDiskAccess -ResourceGroupName $resourceGroupName -DiskName $emptydiskforfootername -Access 'Read' -DurationInSecond 600000;

# Copy the empty disk to blob storage
Start-AzStorageBlobCopy -AbsoluteUri $SAS.AccessSAS -DestContainer $storageContainerName -DestBlob $emptydiskforfootername -DestContext $destinationContext
while(($state = Get-AzStorageBlobCopyState -Context $destinationContext -Blob $emptydiskforfootername -Container $storageContainerName).Status -ne "Success") { $state; Start-Sleep -Seconds 20 }
$state

# Revoke SAS token
Revoke-AzDiskAccess -ResourceGroupName $resourceGroupName -DiskName $emptydiskforfootername

# Remove temp empty disk
Remove-AzVMDataDisk -VM $VM -DataDiskNames $emptydiskforfootername
Update-AzVM -ResourceGroupName $resourceGroupName -VM $VM

# Delete temp disk
Remove-AzDisk -ResourceGroupName $resourceGroupName -DiskName $emptydiskforfootername -Force;

# Get the blobs
$emptyDiskblob = Get-AzStorageBlob -Context $destinationContext -Container $storageContainerName -Blob $emptydiskforfootername
$osdisk = Get-AzStorageBlob -Context $destinationContext -Container $storageContainerName -Blob $destinationVHDFileName

$footer = New-Object -TypeName byte[] -ArgumentList 512
write-output "Get footer of empty disk"

$downloaded = $emptyDiskblob.ICloudBlob.DownloadRangeToByteArray($footer, 0, $emptyDiskblob.Length - 512, 512)

$osDisk.ICloudBlob.Resize($emptyDiskblob.Length)
$footerStream = New-Object -TypeName System.IO.MemoryStream -ArgumentList (,$footer)
write-output "Write footer of empty disk to OSDisk"
$osDisk.ICloudBlob.WritePages($footerStream, $emptyDiskblob.Length - 512)

Write-Output -InputObject "Removing empty disk blobs"
$emptyDiskblob | Remove-AzStorageBlob -Force


#Provide the name of the Managed Disk
$NewDiskName = "$DiskName" + "-new"

#Create the new disk with the same SKU as the current one
$accountType = $Disk.Sku.Name

# Get the new disk URI
$vhdUri = $osdisk.ICloudBlob.Uri.AbsoluteUri

# Specify the disk options
$diskConfig = New-AzDiskConfig -AccountType $accountType -Location $VM.location -Zone $VM.Zones -DiskSizeGB $DiskSizeGB -SourceUri $vhdUri -CreateOption Import -StorageAccountId $StorageAccount.Id -HyperVGeneration $HyperVGen

# Handle Trusted Launch VMs/Disks
If($Disk.SecurityProfile.SecurityType -eq "TrustedLaunch"){
    $diskconfig = Set-AzDiskSecurityProfile -Disk $diskconfig -SecurityType "TrustedLaunch"
}

#Create Managed disk
$NewManagedDisk = New-AzDisk -DiskName $NewDiskName -Disk $diskConfig -ResourceGroupName $resourceGroupName

$VM | Stop-AzVM -Force

# Set the VM configuration to point to the new disk
Set-AzVMOSDisk -VM $VM -ManagedDiskId $NewManagedDisk.Id -Name $NewManagedDisk.Name

# Update the VM with the new OS disk
Update-AzVM -ResourceGroupName $resourceGroupName -VM $VM

$VM | Start-AzVM

start-sleep 180
# Please check the VM is running before proceeding with the below tidy-up steps

# Delete old Managed Disk
Remove-AzDisk -ResourceGroupName $resourceGroupName -DiskName $DiskName -Force;

# Delete old blob storage
$osdisk | Remove-AzStorageBlob -Force

# Delete temp storage account
$StorageAccount | Remove-AzStorageAccount -Force
Als je nu naar de VM gaat in Azure en dan naar disks zie je dat de disk grootte ook aangepast is naar de 90Gb die we eerder hebben opgegeven.

Log nu in op de server en open DiskManagement. Je zult zien dat er nu nog een heel klein beetje aan Unallocated storage aanwezig is.
Klik op de C schijf en klik daarna op Extend Volume.
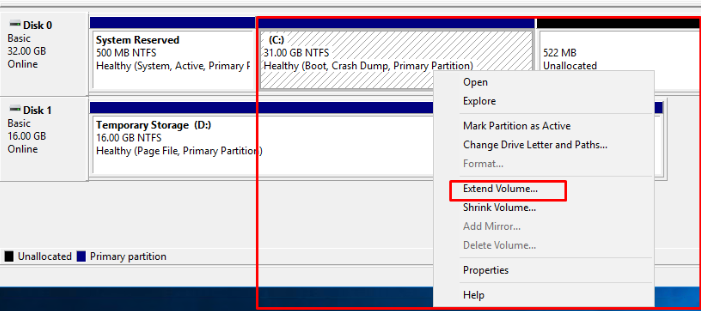
Daarna krijg je de Extend Volume Wizard en selecteer de openstaande ruimte. en klik daarna op Next.

Klik daarna op Finish

Nu heb je je OS disk succesvol kleiner gemaakt, Als je dit bij meerdere Servers kunt doen heb je een behoorlijke kostenbesparing kunnen uitvoeren voor je werkgever.